How to clean your makeup brushes at home
- Dec. 21, 2021
- Makeup
We are always using our makeup brushes on a daily but unfortunately we can’t say the same about washing them. According to dermatologists, we should regularly wash our makeup brushes in order to prevent bacteria buildup caused by layers of oil from your skin mixed with makeup pigments and dead skin cells. This can lead to breakouts as well make our blending skills less effective. Washing them once every month is just not enough. Survey shows that 39% of makeup brush users clean them less regularly than once per month and 22% admitted to never cleaning their brushes. I know right!
The process of washing our brushes can be quite uninteresting as compared to the process of applying. Then having to wait an extra 12 hours for them dry? Yeah I wouldn’t want to wash mine too. But I guess the circumstances leave us no choice but to wash them at least once weekly. So let me tell you, step-by-step, how to do this at home.
Step 1: Wet your brushes
The first step is to wet your brushes’ bristles. Do this with lukewarm water. Also make sure as you’re wetting your brushes you turn the upside down to prevent water from getting into the ferrule (the metal part below the bristles) which could dissolve the glue over time.
Step 2: Add cleanser
The next step is to add your cleanser. A dishwashing sop could be the best option since it is readily available. Also considering dish soaps are engineered to remove tough oil and grease which is the exact byproduct you’re hoping to take out when you clean your brushes. Therefore use a cleanser of your choice and add a few drops to the palm of your hand.
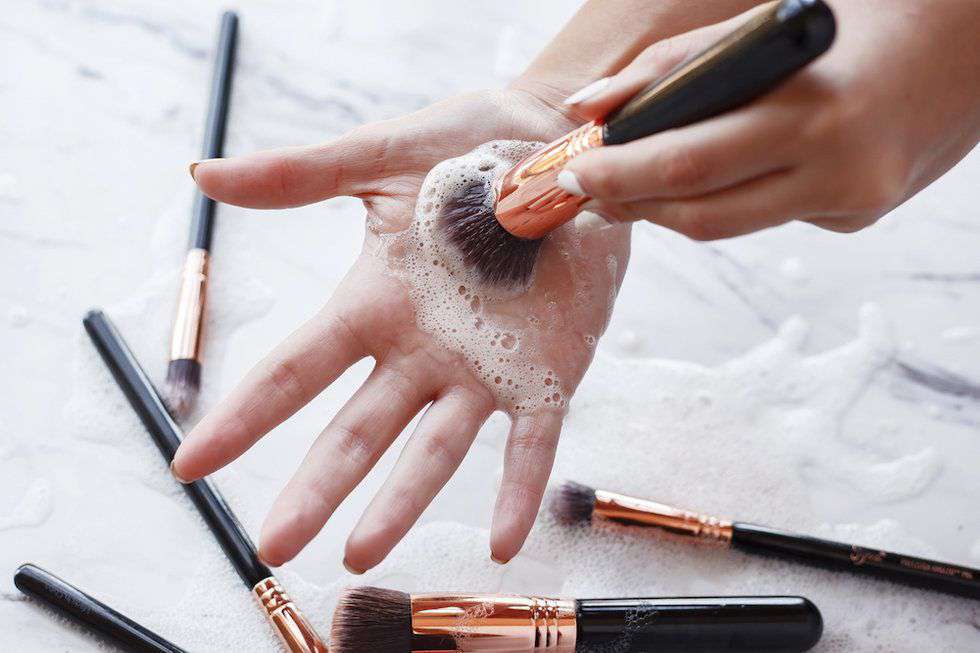
Step 3: Swirl brush in cleanser
Next, hold the dirty brush on other side of your hand and swirl the bristles around the palm with the cleanser to loosen the debris. Do this for a while until the brush feels fully saturated with the solution. Remember that some brushes like stippling brushes are densely packed and have long bristles so ensure that they are properly washed before you move on. You can also use a cleansing mat at this point.
Step 4: Rinse and repeat
On preferably warm running water, rinse out the cleanser from the brushes. If you do this and the water is pigmented, it is advisable to repeat this step twice or thrice until the water runs clear. A tip is to not over cleanse the brushes since super clean brushes don’t pick up product as well. A little grit on the brush is okay as long as you don’t go overboard in avoiding cleaning.
Step 5: Squeeze excess water
Once the brushes are squeaky clean, squeeze out the excess water with your hand then pat the bristles with a clean towel or a textured paper towel. Be sure not to tug too hard as this will loosen the bristles.
Step 6: Lay flat to dry
Finally position the brush heads into their original shapes and place them flat to air dry overnight on a paper towel. Be sure not to place them upright to dry as this could cause the moisture to seep into the brush and form mildew.
Bonus: Cleaning beauty blenders and makeup sponges
To clean beauty blenders and makeup sponges pour a small amount of cleanser onto the blender. Then massage your cleansing product of choice into the blender to loosen up the makeup. Finally rinse and squeeze out the excess water. Keep cleansing and rinsing your beauty blender until the water runs clear. Then leave your blender on a towel to dry. Another option is electronic brush cleaners which work faster and more effective.


Comments