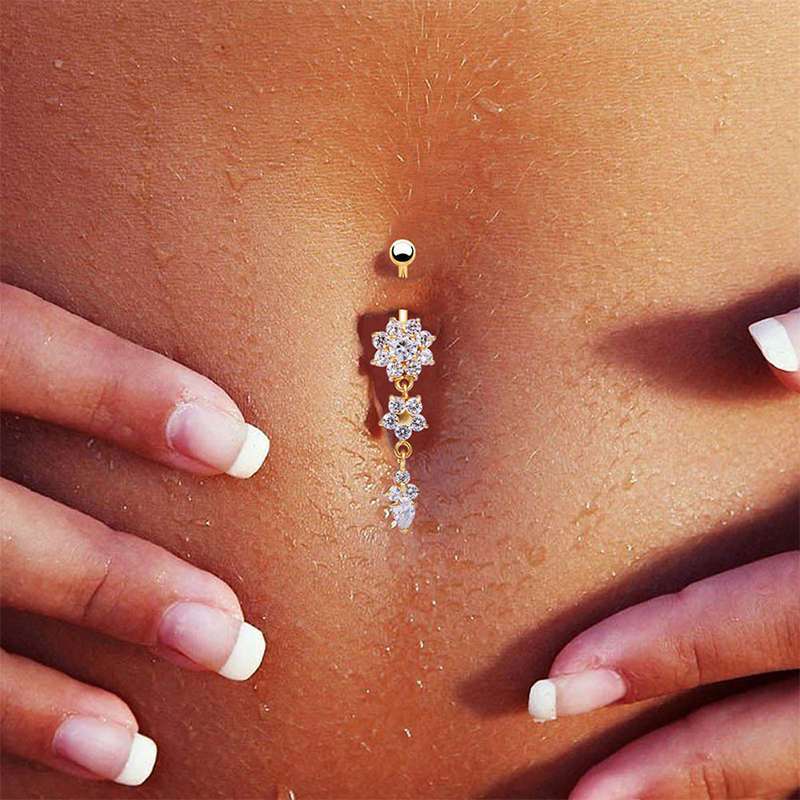
5 Easy Tips On Cleaning Your Belly Button Piercing
- May 14, 2022
- Skin Care
All piercings need to be cleaned to avoid infections. Especially a belly button piercing since it takes even longer to heal hence higher chances of getting an infection. You need to clean it not more than two to three times a day since cleaning too much might dry out your skin and further cause irritations that will make it heal even slower. There’s a lot that goes into proper cleaning of your belly button. That is why we have put together a few tips to help make your work easier, so read on.
- Wash your hands
Remember to always wash your hands thoroughly with soap and water before any cleaning or touching your piercing or jewelry. This is because your hands might contain germs which will lead to infections if they get into contact with your new piercing. So take some 30 seconds to properly give your hands a good scrub.
- Removing dry crust
During the first few days of getting a new piercing you will notice a white to off-white crust forming around it. This is part of the healing process and is totally normal and healthy. You should never use your fingers to forcefully remove the crusts as this can lead to infections and cause pain. Instead, use a Q-tip that has been moistened with warm water to gently remove all loose crust around your piercing. Remember to remove only the loose crust since removing the ones that are still firmly attached to the ring might cause pain and irritation.
- Wash the piercing with soap and water
To wash the piercing, use a basic antibacterial soap with no extra dyes or chemicals once or twice a day. While washing you need to make sure the soap gets suds gets into the holes. The easiest way to do this is to fill half a cup with soapy water and gently place it over the piercing then lightly swing id around. This might hurt on the first few days but the pain will fade away with time.
- Cleaning with sea salt/saline solution
Apart from soap and water you could also clean your piercing with a sea salt solution, or both as preferred by you. To make the mixture stir one-fourth of a teaspoon of sea salt into 8 ounces of boiled and cooled water. You could use cotton balls soaked in the solution to clean or you could soak your belly using a glass containing the solution just as for the soap as mentioned above. Remember to avoid iodized salt, kosher salt or Epsom salts as these can irritate the piercing.
This is an easier and more affordable method although you might opt for the pre-made solutions that are available in the market that are specifically made for healing piercings quickly and efficiently in case you are not comfortable making one by yourself.
- Dry the piercing properly
Use a paper towel or a clean napkin to dry your piercing instead of a bath towel or a cloth. This is because most of the times, towels and clothes harbor germs or bacteria that can cause infections. It is more advisable to use a disposable paper product instead. Also remember to use dabbing motions and be as gentle as possible since a lot of friction and pulling might lead to pain and swelling of the area.


Comments